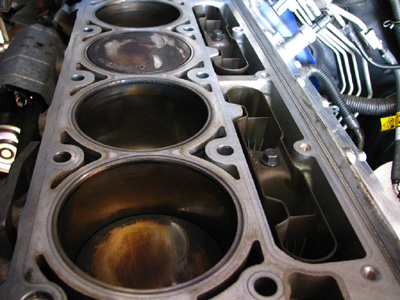
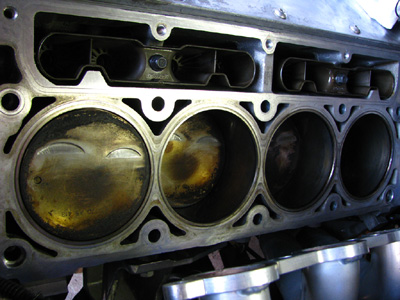
Taping the block off, preparing to fly cut the pistons for valve clearance...
Fly cutting (right angle air drill was necessary to get the last cylinder on the drivers side)
Use a dial gauge to bring each piston to the exact same position at TDC before cutting. Lock collars on the cutting valves prevent cutting too far on the pistons and ensure consistent cuts.
After cutting, each valve relief was sanded to remove any sharp edges which could create hot spots.
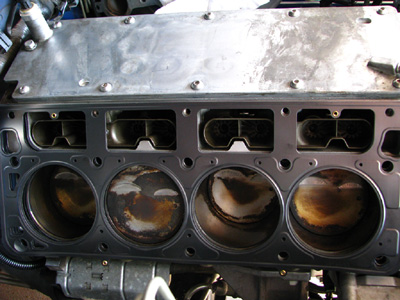
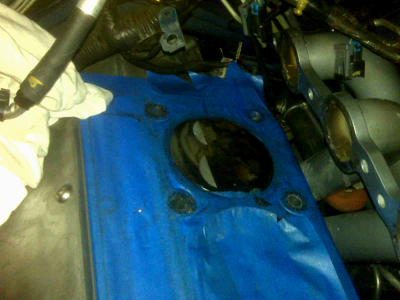
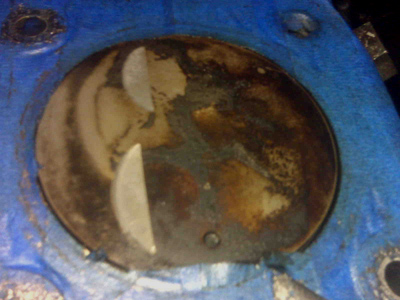
The block surface was cleaned with acetone to remove any leftover residue from the stock head gaskets.
Be sure to remove any water and also use thread chasers in each of the bolt holes. I used a shop vac with a small rubber line and "twisted" paper towels. Compressed air will also work.
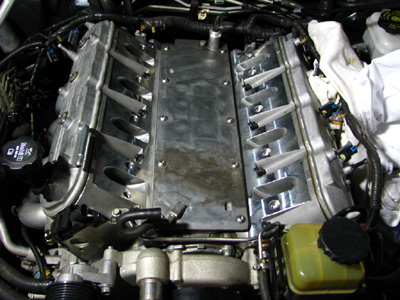
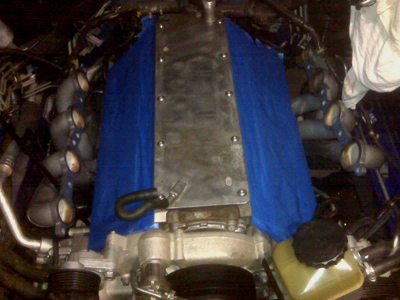
Cometic .040" metal layer head gaskets were used. Note the small coolant hole on the lower corner goes up front. I also replaced the lifters while the heads were off.
ARP head bolts were also used in favor of factory "torque to yield" bolts (the stock bolts made good "thread chasers" with 2 grooves cut along the length of the bolt). Be sure to use moly assembly lube on the bolts for accurate torquing (follow factory torque sequence but ARP's torque rating).
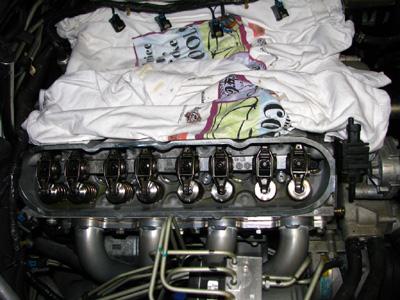
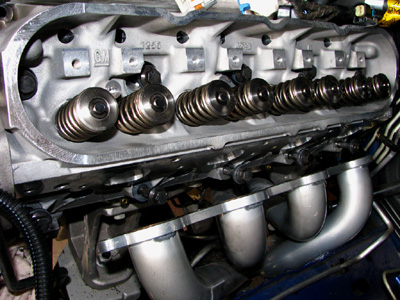
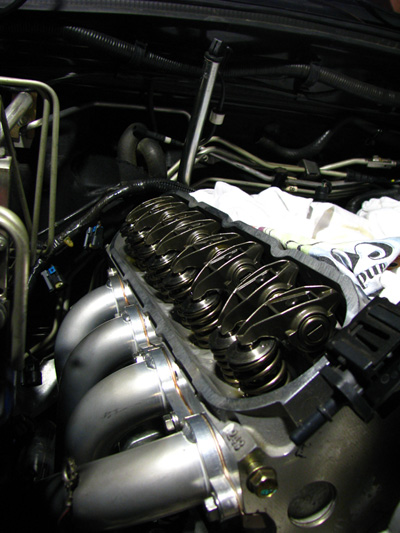
Valve spring installation
Be sure to pour plenty of oil over the valvetrain before putting the valve covers back on.
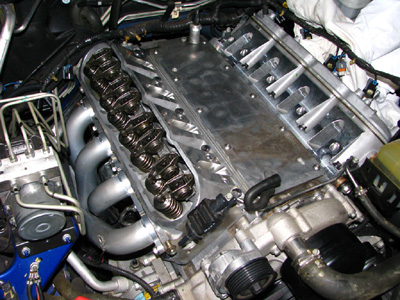
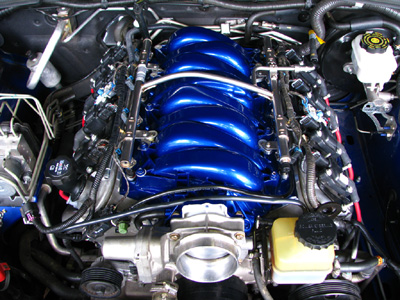
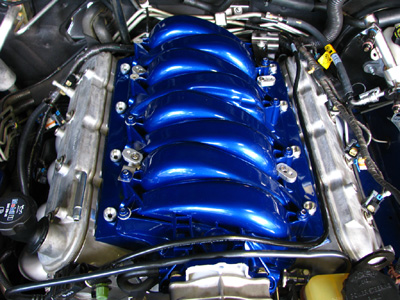
Note the FAST LS2 intake adapters for both the fuel rails and injector ports (LS2 injectors are shorter than LS1 and use a newer USCAR/EV6 connector; LS2 fuel rail mounting tabs are also in a different location than LS1)